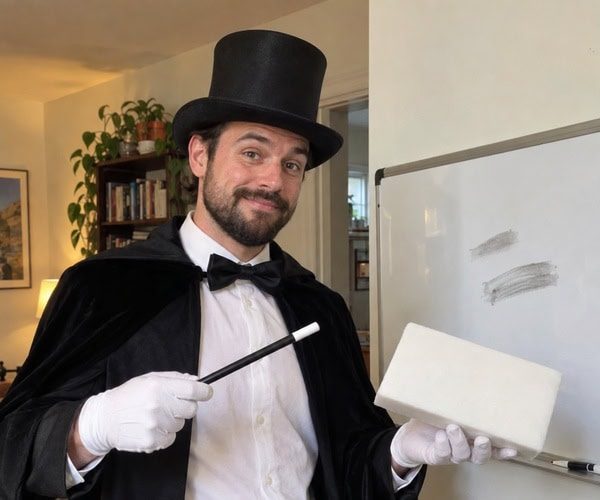








Magic Eraser Costume Guide
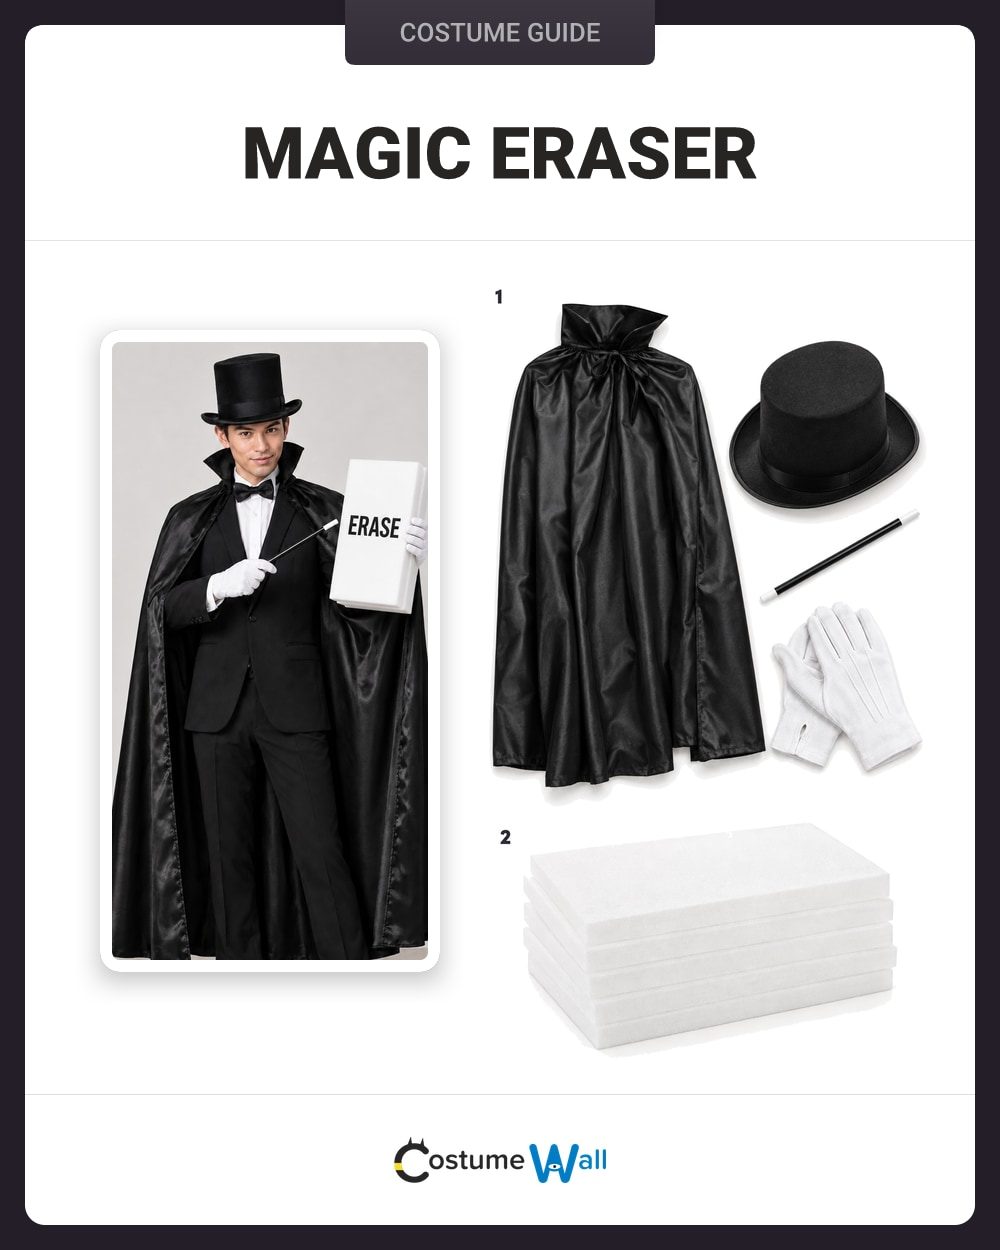
DIY Costume Items
How to Make a Magic Eraser Costume
This costume makes “Magic Eraser” literal: a stage magician presents a layered white foam eraser. The top hat, cape, gloves and wand supply “magic”; three stacked foam sheets with a plain ERASER label supply “eraser.”
Use the verified four-piece magician set and three one-inch sheets from the seven-pack. A plain white shirt and optional black bow tie come from home. Bond the foam with an adhesive labeled safe for craft foam, let it cure for the full time on its label, then add the word ERASER.
ProjectPun costume
TechniqueLayer and bond three white foam sheets before carrying the eraser prop
Magic Eraser Costume Materials
From the Kit
The Croknit four-piece set supplies the cape, top hat, white gloves and wand. The YOUEON pack supplies seven white 17 x 11 x 1 inch foam sheets; use three for a roughly three-inch-thick eraser prop.
From Home
Use a plain white shirt, optional black bow tie, black trousers and dark shoes from home. Use craft adhesive whose label says it is suitable for foam, and follow its application and full cure-time directions. A home marker can add the plain word ERASER; test it on a spare sheet first.
Use three matching sheets
Align three one-inch sheets for a compact three-inch stack. Keep the front and side edges flush before the adhesive sets.
Let the adhesive cure
Use only craft adhesive whose package identifies foam as a suitable material, and wait for its full stated cure time before handling the prop.
Build and wear the Magic Eraser costume
Make the foam prop first and allow its adhesive to cure fully before carrying it. Then add the magician pieces and keep both clues visible.
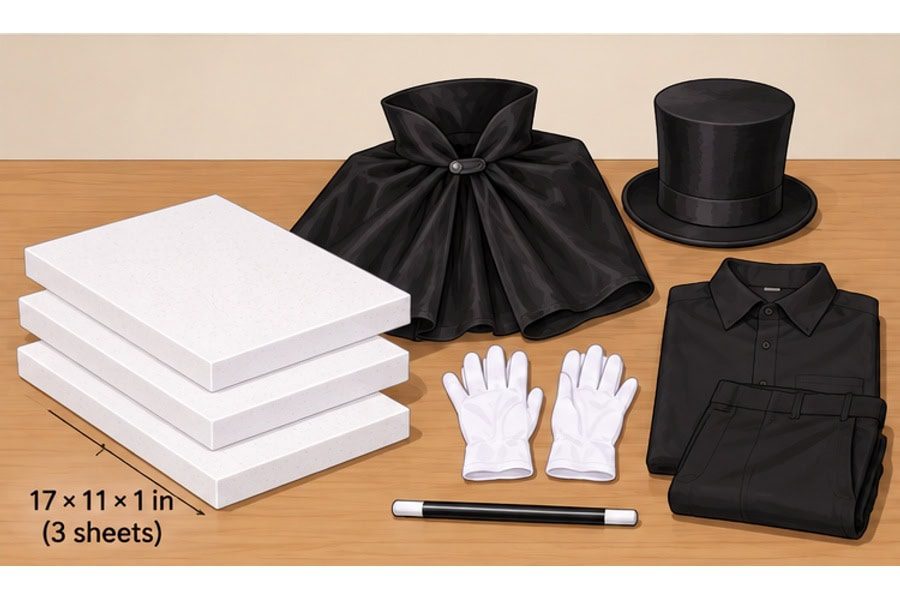
Set out three foam sheets
Lay out three white one-inch YOUEON foam sheets, the Croknit four-piece magician set and the plain clothes you will wear underneath. Leave the other four sheets in the pack for another project.
Check that the three sheets have clean, even edges and that the adhesive label specifically allows use on craft foam.
Check: Three one-inch sheets and all four magician-set pieces are ready.
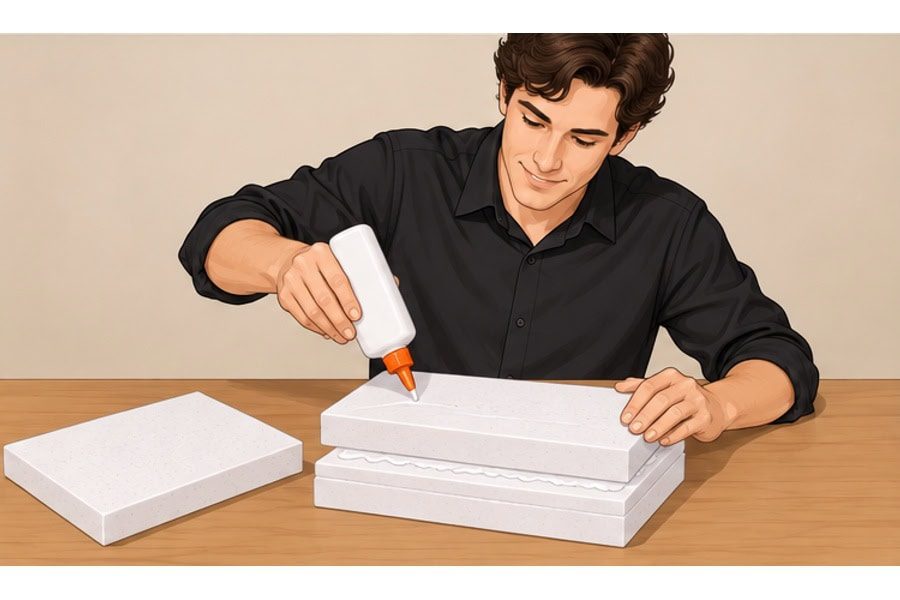
Bond the three foam sheets
Apply the foam-safe craft adhesive in the pattern and amount directed on its label, then align and press the three sheets together. Keep glue away from the broad front face that will show the ERASER label.
Leave the prop undisturbed for the full cure time stated on the adhesive package. Do not carry or dress with the stack while the adhesive is wet or tacky.
Check: The three layers are aligned, and the adhesive has cured for the label’s full stated time.
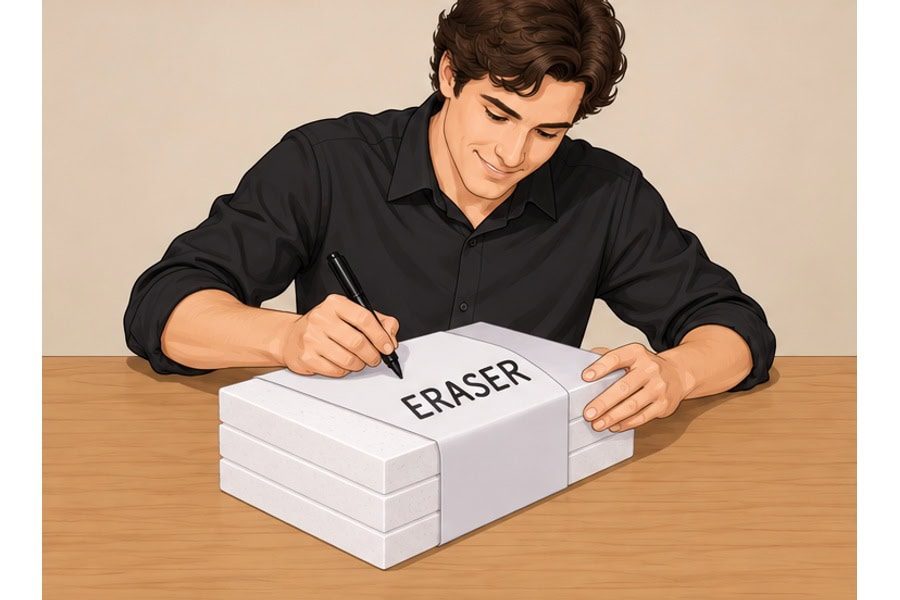
Label the cured eraser
After the adhesive is fully cured, write ERASER in plain block letters on the broad white face. Test the marker on a spare sheet first and keep the lettering free of logos or cleaning-product graphics.
Hold the stack by its edges and check that all three layers stay aligned. Set it aside if a joint lifts; follow the adhesive label rather than adding unverified glue.
Check: The cured white stack has a clear ERASER label and its three layers remain aligned.
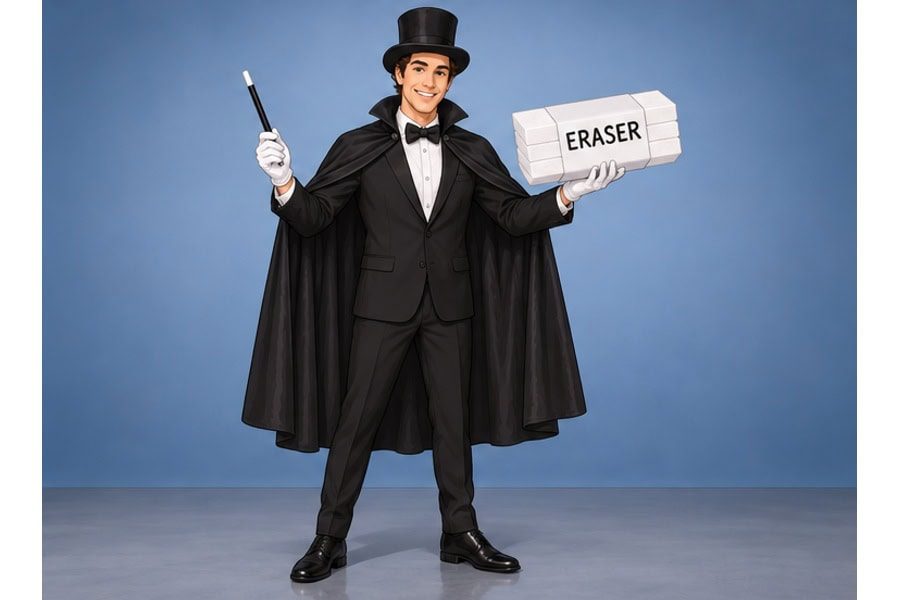
Finish the magician look
Wear a plain white shirt, optional black bow tie and dark trousers from home. Add the set’s cape, top hat and white gloves; hold its wand in one hand and the fully cured foam prop in the other.
Keep the hat fully in frame and turn the labeled face toward the camera. Show the visible sheet layers at the edge so the thick white eraser reads clearly.
Check: The complete top hat, cape, gloves, wand and labeled layered eraser appear together.
Quick Fixes
A layer shifts while bonding
Realign the sheets before the adhesive sets and follow its label for pressure and cure time. Do not carry the stack until the adhesive is fully cured.
The costume looks like a generic magician
Add the plain paper band reading “ERASER” and keep the foam fully visible. Do not add cleaning-product branding, because the joke depends on the literal word pairing.
Magic Eraser Cosplay Costumes
Keep the complete top hat and the labeled foam stack in the frame together. Hold the wand in one gloved hand and turn the eraser’s broad face toward the camera.
Carry the foam prop only after the adhesive’s full cure time. A plain background keeps the dark magician outfit and white labeled eraser easy to read.
Magic Eraser Costume FAQs
These answers cover the practical choices that keep the Magic Eraser pun clear, unbranded and easy to photograph.
No. The plain white rectangular foam is the main eraser cue. A small paper band reading “ERASER” is optional if viewers need extra clarification.
Stack three one-inch sheets from the seven-pack to make a roughly three-inch-thick prop. Align their edges and use a paper band taped to itself to hold the stack together.
No. Keep the prop completely unbranded and do not add a logo, package, mascot or branded sponge design. The costume is a separate literal pun.
Use ordinary black trousers and dark shoes from home. Their simple color supports the magician look without competing with the white foam rectangle.
Hold the foam upright in one hand and the wand in the other, or angle the wand toward the foam without covering its broad face. Both objects should remain visible in the photo.
About Magic Eraser
The wordplay is literal: the magician’s hat, cape, gloves and wand supply “magic,” while a plain ERASER label on three bonded white foam sheets supplies “eraser.”
The purchased set includes four magician accessories; the shirt and optional bow tie come from home. The white 17 x 11 x 1 inch sheets make a thicker prop when bonded with foam-safe craft adhesive and fully cured before handling.