


















Get the fit right before the hairstyle
A copper bob can make Velma’s orange sweater feel like a costume. Two black braids can do the same for Wednesday’s dress. But if the wig rides up, sits crooked, or has a big lump underneath, styling the ends will only get you so far.
Start with your own hair, then fit the cap, then arrange the character’s hairstyle. This guide covers putting on an ordinary full wig for Halloween: preparing long hair, finding the front and back, setting the position, and checking it with your outfit. Lace-front trimming and adhesive attachment need the directions for the particular wig and attachment system.
Try the whole process before costume day. You want to find out which part needs adjusting while you still have time to change it.
Set up a fitting spot
Use a mirror where you can see the front and both sides. Put your costume’s glasses, hat, and hair accessories nearby so you can check them together.
Gather a few useful basics
- Your wig and its fitting or care instructions.
- A wig cap or liner, if you use one.
- Hairpins for securing your own hair.
- A second mirror or a phone for side and back photos.
- Any wig grip designed for your wig and wearing needs.
Keep the instructions or packaging until you have finished the first fitting. The inside of the cap, the fiber type, and any attachment pieces are more useful information than the character name on the bag.
Check the size before styling
HairUWear’s fitting guidance starts cap sizing with a measurement around the hairline. Compare yours with the size information for the actual wig. An adjustable strap can refine a fit, but it is not a substitute for choosing a suitable cap.
Before cutting bangs or opening adhesive, try the wig in its original condition and check the seller’s return requirements. A wig that needs a different size is a different problem from one that needs its fringe arranged.
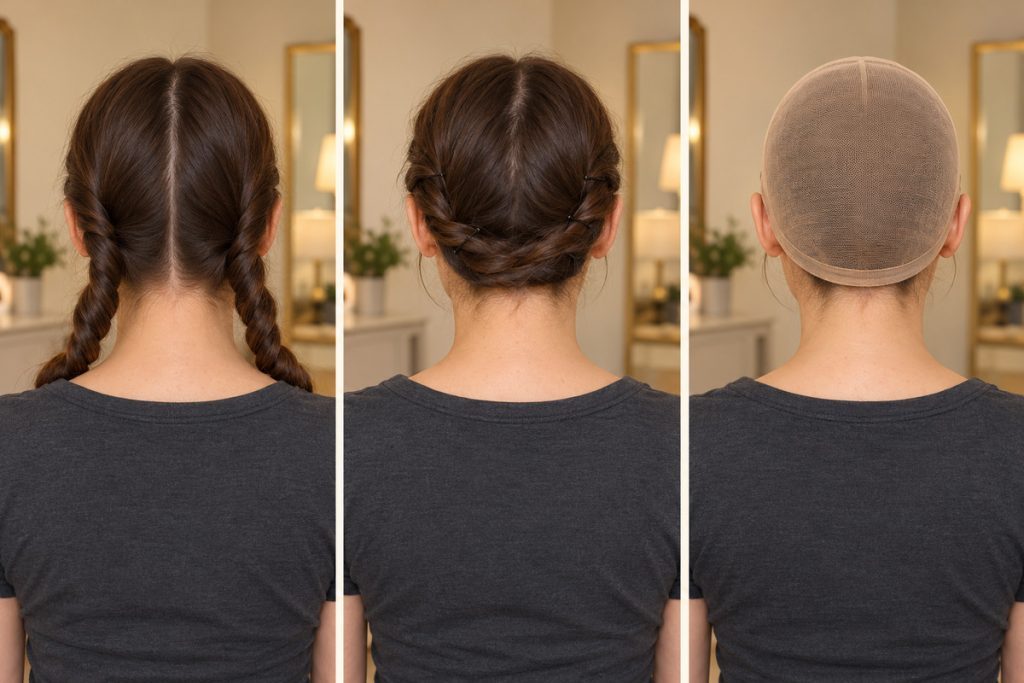
Spread out your hair underneath
A single bulky knot can make the wig stand away from your head. Aim for an even base rather than trying to hide all your hair in one place.
For long hair
Jon Renau demonstrates a wrapped-hair method: divide the hair, cross the sections at the nape, then pin them in opposite circular directions below the top of the head. Bring the liner over the finished wrap. Follow the full demonstration if this is your first attempt.
Use the back-view photo to look for a concentrated bump. If you can see one before the wig goes on, redistribute that section instead of planning to press it down with a tighter cap.
For short hair or no hair underneath
Smooth down loose hair and try the liner your wig’s directions recommend. If you have no hair to tuck away, skip the wrapping step. A cap or grip is a fitting choice; choose the combination that works with your wig rather than adding layers automatically.
Put on the wig in four steps
Work with the cap itself. Avoid using the bangs or long strands as handles.
1. Find the back
Look inside for the nape label and adjustment straps. Keep that side facing the back of your head. Separate any stray hair caught across the opening before putting it on.
2. Place the front, then ease the cap back
Following HairUWear’s application sequence, position the front, then ease the rest of the cap over your head toward the nape. Keep your ears free. Do not judge a crooked fringe until the cap is seated.
3. Level the sides
Check the position at each temple. The National Alopecia Areata Foundation’s fitting guide recommends evening up the ear tabs. Use a side view as well as the front mirror; a tilted cap can make one side of a bob appear shorter.
4. Adjust, then style
Use the cap’s adjustment system as directed. Once it sits evenly, arrange the part, bangs, and ends for your character. If you keep moving the cap while fixing the fringe, pause and separate those two jobs.
Fix the problem you can actually see
Take one front photo and one side photo. Change one thing, then compare, instead of repeatedly tugging at the whole wig.
The crown looks bulky
Remove the wig and inspect the hair underneath. Spread a concentrated wrap or knot over a wider area. Try it again before adding more styling volume on top.
The fringe looks uneven
Check whether the cap is tilted or twisted. Level it first. If the fringe still needs cutting, establish the final wearing position before deciding where to trim; take the wig to someone experienced if you are unsure.
The cap edge is showing
Check whether the liner has crept forward and whether your own hair is fully tucked away. Decide the wig’s position first, then arrange its hair over the edge as intended by that style.
It keeps moving
Recheck the cap size, the adjustment setting, and the base underneath. NAAF describes optional wig grips that add hold; follow the fitting instructions for the grip you choose. Do not assume more tightening will solve every slipping problem.
It feels uncomfortable
Take it off and reassess the fit and layers underneath. A costume rehearsal is the time to choose a different cap, liner, or hairstyle. You do not need to spend the party repeatedly readjusting a wig you already dislike wearing.
The hat changes everything
Try the hat after the wig is positioned. Check whether it pushes the fringe down or catches the hair when removed. Adjust the outfit combination before deciding the wig alone is the problem.
Finish the character after fitting the wig
Use the hairstyle to support the outfit. These guides show three very different ways hair contributes to recognition.
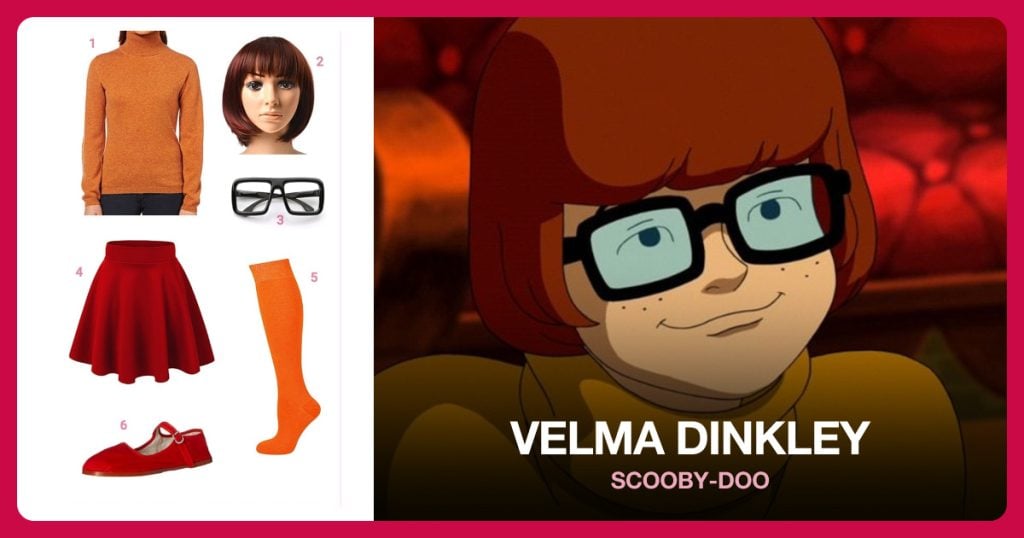
Velma Dinkley
Pair Velma’s short brown bob with the orange sweater, red skirt, and square glasses. Check that the glasses sit comfortably once the wig is on.
Cruella De Vil
Cruella’s black-and-white hair supplies a strong color contrast. Set its position before arranging the rest of her dramatic outfit.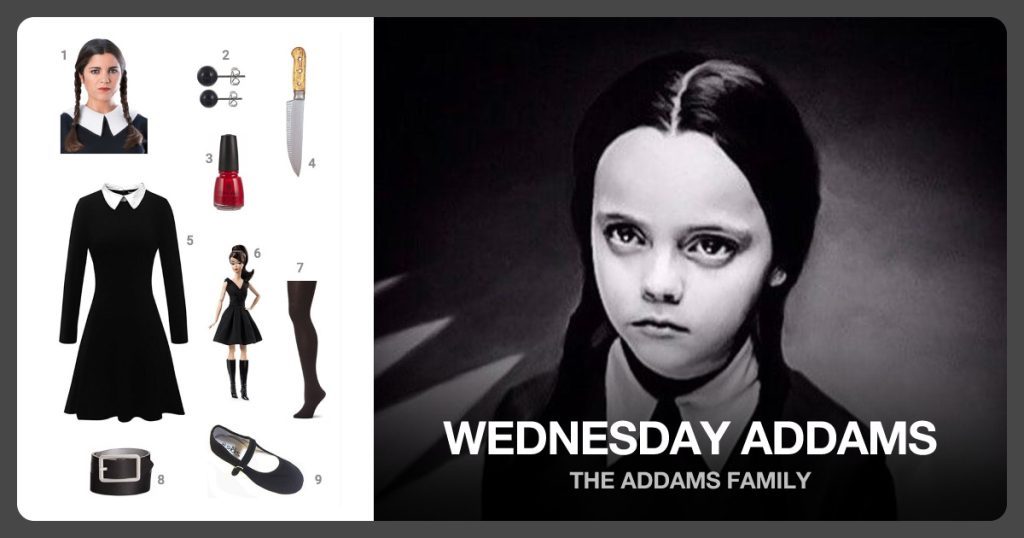
Wednesday Addams
Wednesday’s dark braids frame the white collar and black dress. Put the dress on before the final hair arrangement if the neckline might disturb it.Try the wig with the whole costume
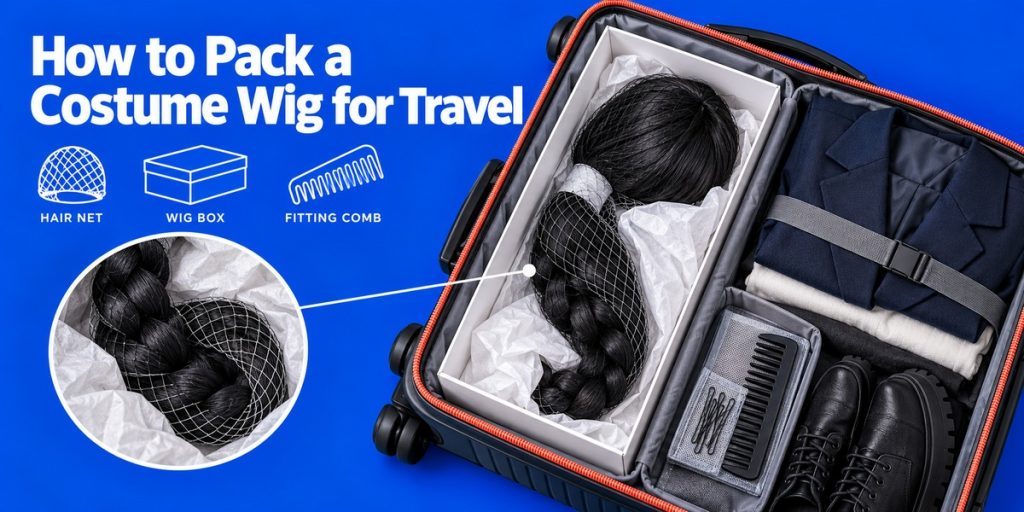
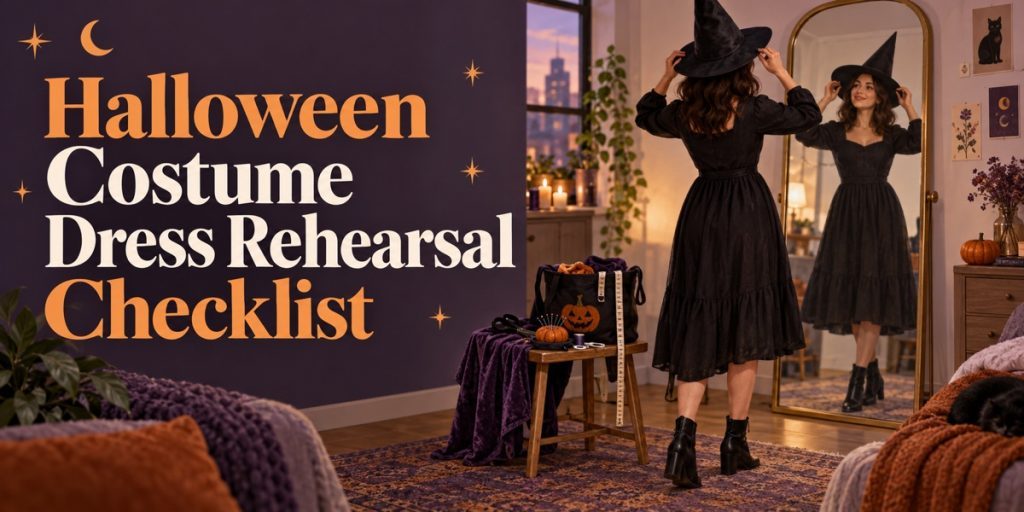
Use our costume dress rehearsal checklist for the clothing and accessories too. If you are traveling, our wig packing guide covers keeping the style supported between fittings.
A back-view photo of your hair wrap can be more useful on costume day than remembering how many pins you used.
Halloween wig questions
Do I have to wear a wig cap?
Follow the wig’s fitting guidance. A liner can contain your own hair, but the useful goal is an even base and a fit you like. Try the recommended setup before buying several different cap styles.
How do I fit long hair under a short wig?
Distribute it around your head instead of piling it into one knot. Use Jon Renau’s linked wrapping demonstration, then check the back and sides before fitting the short wig over it.
Why does one side of my bob look longer?
The cap may be tilted. Level the sides and recheck its front position before cutting any hair. Take a straight-on photo rather than judging while leaning toward a mirror.
Will making the straps tighter stop slipping?
Not necessarily. Check the cap size and the hair underneath first. If you use a grip, follow its directions; choose a comfortable setup rather than treating the tightest setting as the target.
Does a Halloween wig need glue?
Do not add adhesive automatically. Check how your particular wig is designed to attach. If it calls for a bonding system, use that system’s own application and removal directions rather than improvising with craft glue.
Can I use a curling iron to fix the shape?
Only follow the heat-styling instructions for the exact fiber. HairUWear distinguishes heat-friendly fibers from other synthetic hair. A Halloween label or a shiny appearance does not tell you which you have.
Should I put the wig on before my costume?
Practice the order with your outfit. A tight pullover can disturb a finished wig; a button-front shirt may be easier afterward. Leave hats, glasses, and loose hair accessories for the final fitting.
What should I do after taking it off?
Support the style and follow the wig’s care directions. Keep it separate from loose hooks, jewelry, and other costume pieces that can catch its hair. Use the linked packing guide for travel.
Fitting sources and demonstrations
Use the instructions for your own wig when its cap or attachment method differs. The outfit checks and character styling suggestions above are Costume Wall’s editorial advice.
Manufacturer fitting help
- HairUWear: Putting on your wig — illustrated application sequence.
- HairUWear: Wig FAQs — sizing, orientation, and fiber-specific care.
- Jon Renau: How to wear a wig — long-hair wrapping demonstration.
Cap position and optional grips
- National Alopecia Areata Foundation: Wigs and toppers — positioning, ear tabs, and grip options.
The character guides illustrate outfit choices; they do not establish the care requirements of every wig sold for that character.
Make the wig part of the outfit
Begin with a flat base, settle the cap, and only then arrange the hairstyle. Check it beside the costume details that matter: Velma’s glasses, Wednesday’s collar, or Cruella’s bold color contrast. A few clear photos and a repeatable dressing order will help more than another round of last-minute tugging.
When the full outfit works together, save that setup and put the wig away with its shape supported. On Halloween, you can spend your time getting into character instead of figuring out which end of the cap goes at the back.